" fill="%23faf1da" stroke-width="1.8"/>%0A <ellipse cx="64.5" cy="50" rx="43" ry="12" transform="rotate(4 64.5 50)" stroke="%23938466"/>%0A <path d="m26 44 1 10m3-12 1 14m3-14 1 15m3-14 1 15m4-14 1 14m4-13 1 14m39-10-1 10m5-9-1 8m5-7-1 5" stroke="%23b2a181" stroke-width=".7"/>%0A <path d="M55 60c3-10 12-14 23-10l47-44c7-6 15-6 15-2 0 5-9 11-14 14L82 60c-8 4-21 4-27 0Z" fill="%23bc8c48" stroke-width="1.6"/>%0A <path d="M61 59c3-5 9-8 15-5l-4 7m8-8 49-45 6-4M84 52l45-41" stroke="%2376562e" stroke-width="1"/>%0A <path d="M20 53c18 14 69 19 90 2" stroke="%23514431" stroke-width="2"/>%0A <path d="M27 59c22 11 59 14 78 2" stroke="%23fff9e9" stroke-width="2"/>%0A <path d="m48 87 1 1m7 8 1 1m6-12 1 1m6 12 1 1m6-9 1 1m-24 9 1 1m19 4 1-1m10-16 1 1" stroke="%23aa9b7c"/>%0A </g>%0A</svg>%0A)
Coconut Cream Pie
A flaky pastry shell and a slowly chilled coconut custard give this classic cream pie clean slices and a tender, not rubbery, set.
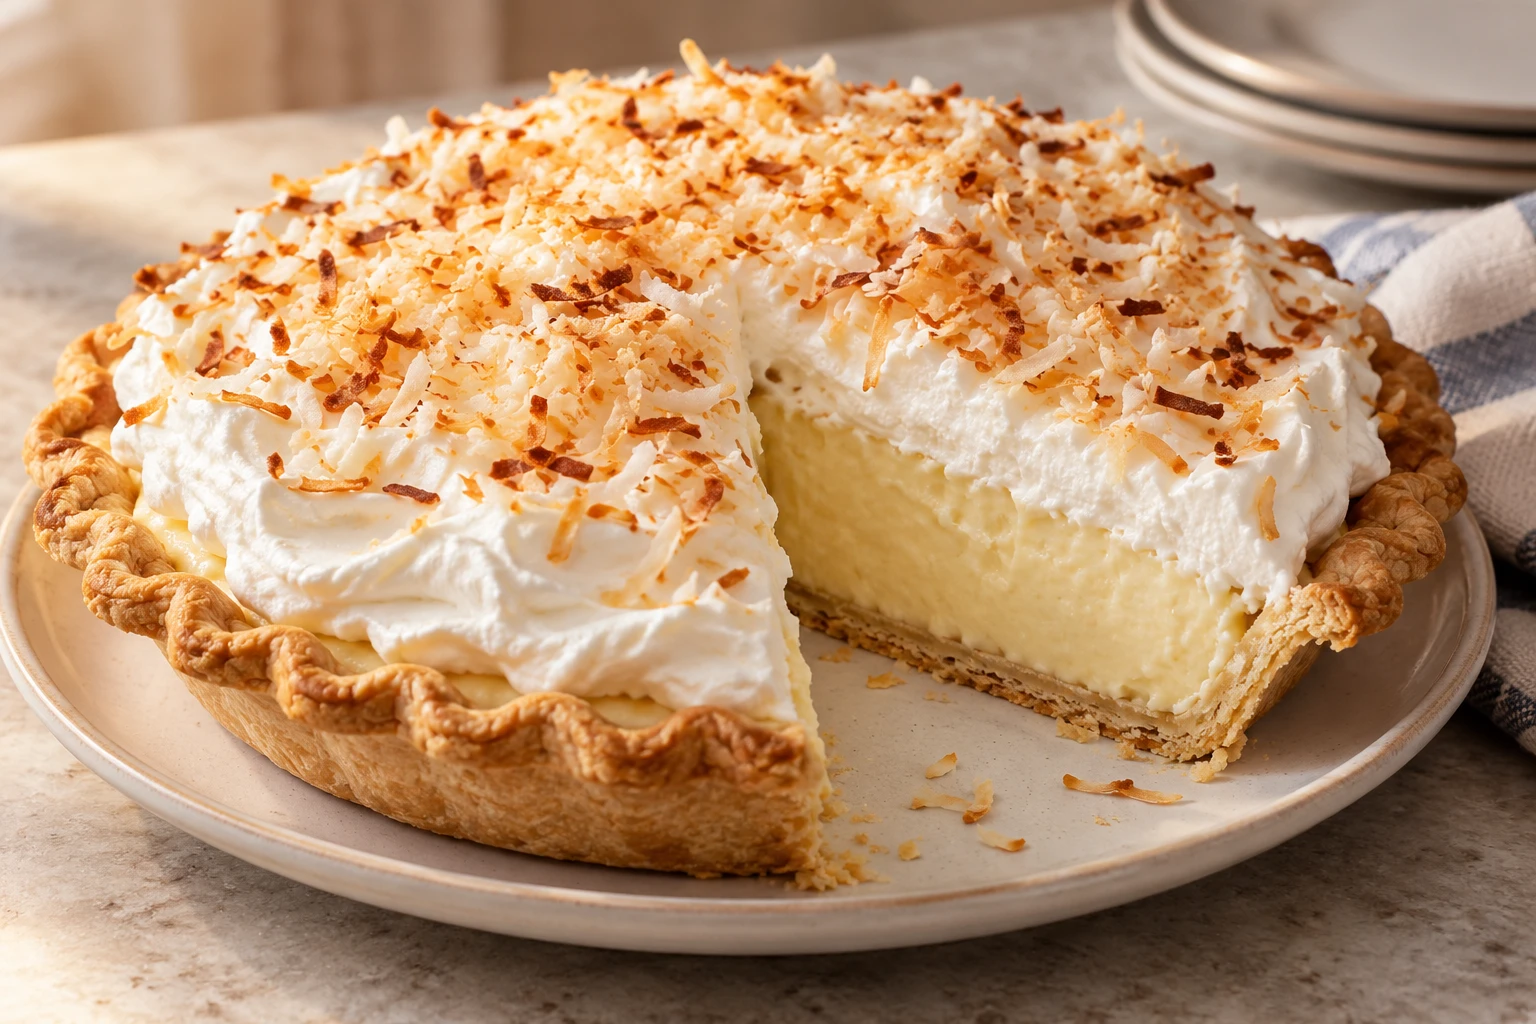
This pie builds coconut flavor in two layers: coconut milk enriches the custard, and shredded coconut gives it texture. A long, undisturbed chill lets the filling set before the whipped cream is added.
A crisp foundation
The crust is fully blind-baked because the cool custard will not bake again in the oven. Chilling the dough before and after shaping helps the butter stay cold, while baking uncovered at the end dries the base and keeps it crisp under the filling.
Temper for a smooth custard
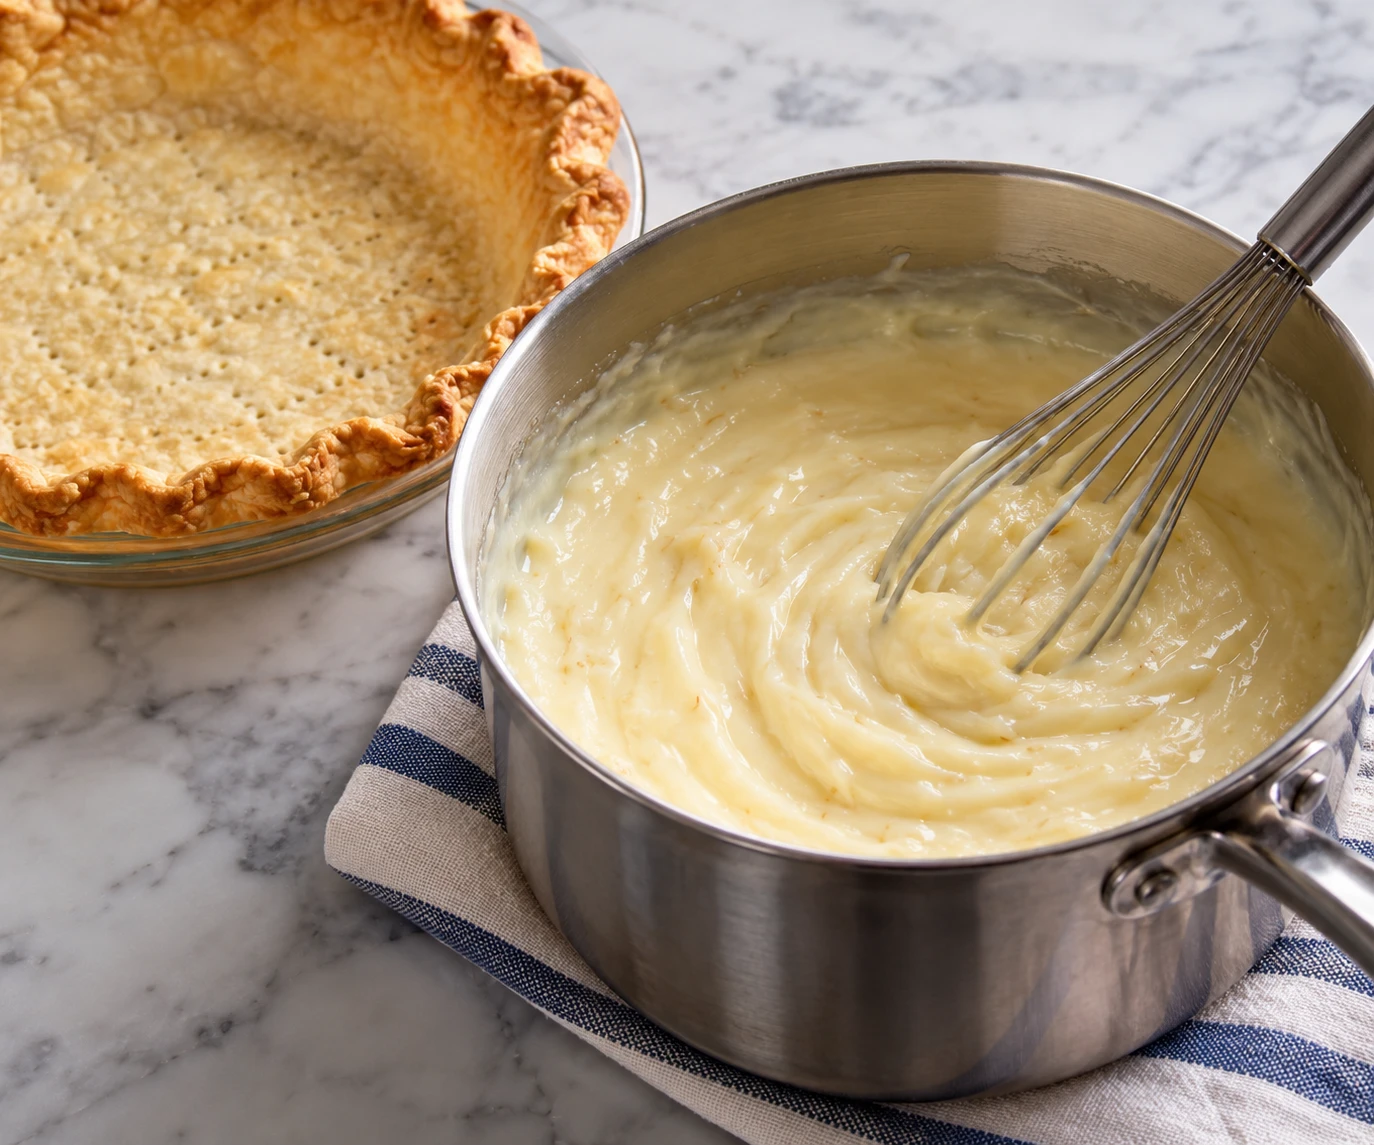
Adding hot milk gradually to the yolks warms them without scrambling. Once the mixture returns to the saucepan, constant whisking and a full minute of bubbling cook the starch through and produce a custard that slices without turning rubbery.
Give the filling time to set
Pressing wrap against the surface prevents a skin from forming while the pie chills. Wait until the center is cold all the way through before topping; a warm center can soften the whipped cream and make slices slump.
Toast for a clear coconut finish
The coconut topping toasts quickly in a dry skillet, so stir it often and transfer it as soon as most flakes turn pale gold. Cooling it on a plate stops carryover browning and keeps the topping crisp.
Top close to serving
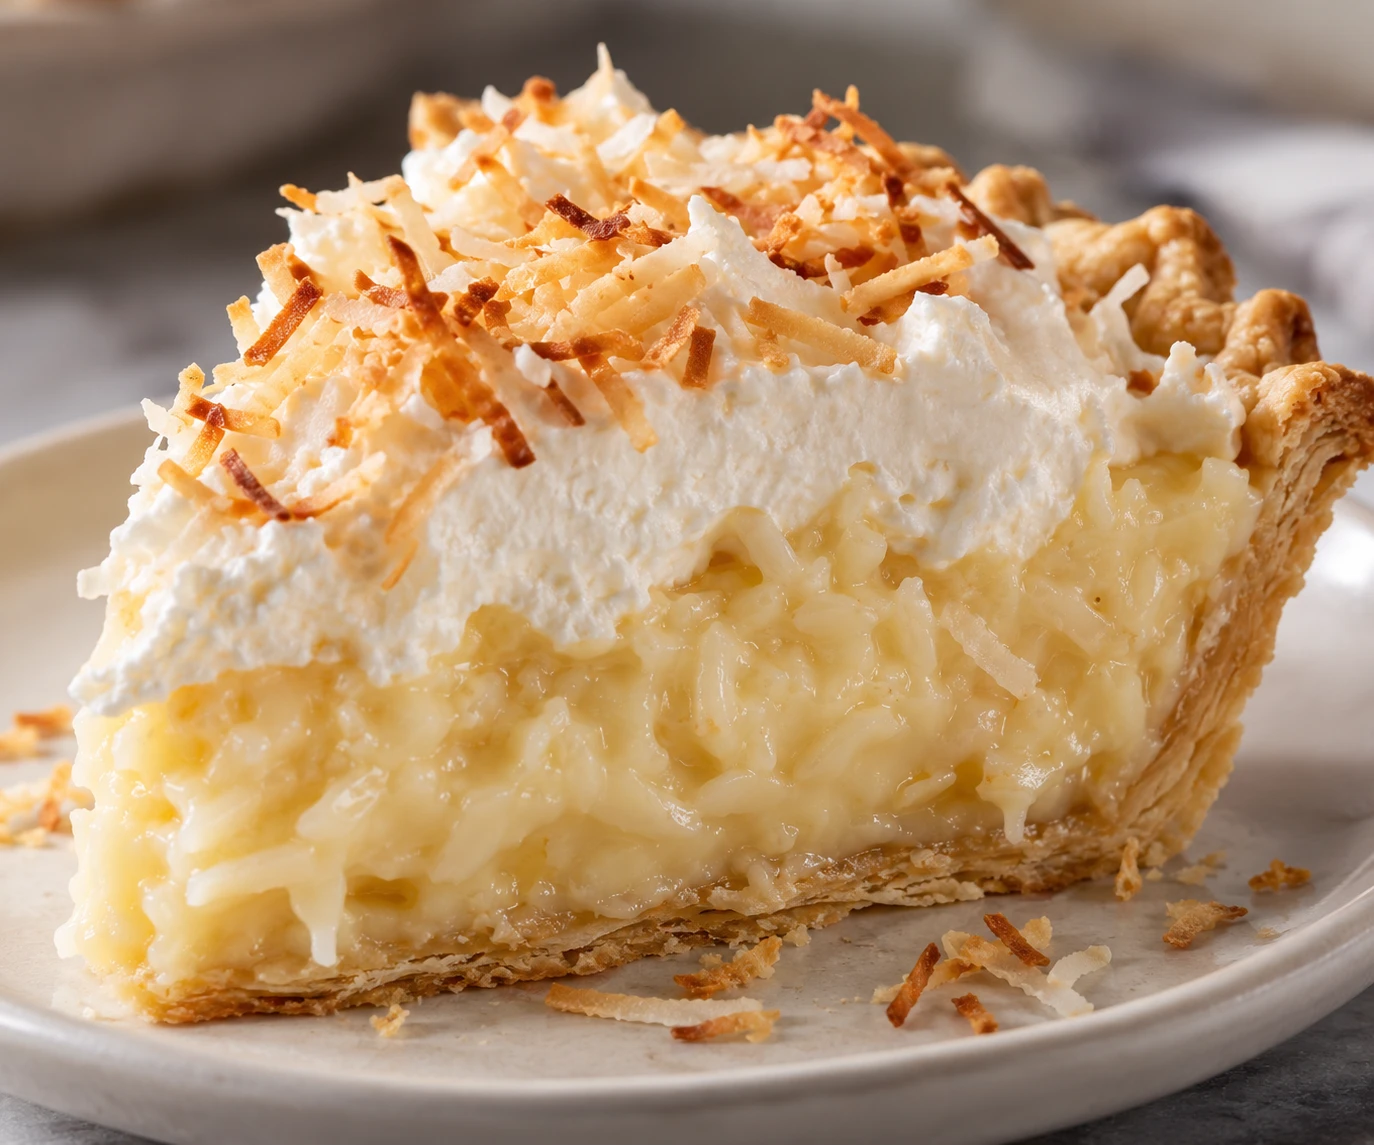
Whip the cream only to medium-firm peaks so it stays smooth and easy to spread. For neat slices, use a sharp knife and wipe the blade between cuts; refrigerate any remaining pie.
Coconut Cream Pie
Ingredients
- • 1 1/4 cups all-purpose flour
- • 1 tsp granulated sugar
- • 1/2 tsp fine salt, divided
- • 1/2 cup (1 stick) cold unsalted butter, cubed
- • 3 to 4 tbsp ice water
- • 1 1/2 cups whole milk
- • 1 cup unsweetened full-fat canned coconut milk, well stirred
- • 4 large egg yolks
- • 3/4 cup granulated sugar
- • 1/4 cup cornstarch
- • 2 tbsp unsalted butter
- • 1 tsp vanilla extract, divided
- • 1 1/2 cups sweetened shredded coconut, divided
- • 1 cup cold heavy cream
- • 2 tbsp confectioners' sugar
Method
Make the pastry dough
Whisk the flour, 1 tsp granulated sugar, and 1/4 tsp salt in a bowl. Cut in the cold butter until pea-size pieces remain, then mix in 3 tbsp ice water and add the last tablespoon only if dry crumbs do not hold when squeezed.
Look for: The dough holds together when pressed but still shows small butter pieces and is not sticky.
Shape and chill the shell
Press the dough into a disk, wrap, and chill for 30 minutes. Roll it on a lightly floured surface into a 12-inch round, fit it into a 9-inch pie plate, trim and crimp the edge, then chill the shaped shell for 30 minutes.
Look for: The dough is firm and cool before rolling, and the fitted crust has no cracks at the bottom edge.
Blind-bake the crust
Heat the oven to 375 F. Line the chilled shell with parchment and pie weights, bake for 20 minutes, then lift out the parchment and weights and bake 12 to 15 minutes more, until the base looks dry and the edges are light golden; cool completely.
Look for: The uncovered base has no glossy raw patches and the crimped edge is lightly browned.
Warm the custard liquids
Whisk the egg yolks, 3/4 cup granulated sugar, cornstarch, and remaining 1/4 tsp salt in a heatproof bowl until smooth. In a medium saucepan, warm the whole milk and stirred coconut milk over medium heat until steaming with tiny bubbles at the edge, but not boiling.
Look for: The yolk mixture is lump-free and the milk is steaming without a rolling boil.
Thicken and finish the custard
Whisk about 1 cup of the hot milk mixture gradually into the yolk mixture, then return it all to the saucepan. Cook over medium heat, whisking constantly and scraping the corners, until thick and bubbling; boil for 1 minute, then remove from the heat and whisk in 2 tbsp butter, 1/2 tsp vanilla, and 1 cup shredded coconut.
Look for: The custard leaves clear tracks from the whisk and bubbles slowly across its surface before the one-minute boil is complete.
Fill and set the pie
Scrape the hot custard into the fully cooled crust and smooth the top. Press plastic wrap directly onto the custard so a skin cannot form, then refrigerate for at least 6 hours, until the center is thoroughly cold and set.
Look for: The center feels cool and holds its shape when the pie plate is moved gently.
Toast the coconut
Spread the remaining 1/2 cup shredded coconut in a dry skillet and toast over medium-low heat, stirring often, until most flakes are evenly golden. Transfer it to a plate at once so residual heat does not darken it, then cool completely.
Look for: The coconut smells nutty and has an even pale-gold color without dark spots.
Whip the cream
Beat the cold heavy cream, confectioners' sugar, and remaining 1/2 tsp vanilla in a chilled bowl until medium-firm peaks form; stop when the cream holds a soft curl rather than looking grainy.
Look for: A lifted whisk leaves a peak whose tip bends slightly while the cream remains smooth.
Top and serve
Peel away the plastic wrap and spread or pipe the whipped cream over the chilled custard, leaving a narrow border of filling visible if desired. Sprinkle with the cooled toasted coconut, cut with a clean sharp knife, and keep leftover pie refrigerated.
Look for: The cream sits in soft defined swirls and each slice lifts from the plate with a clean custard edge.