" fill="%23faf1da" stroke-width="1.8"/>%0A <ellipse cx="64.5" cy="50" rx="43" ry="12" transform="rotate(4 64.5 50)" stroke="%23938466"/>%0A <path d="m26 44 1 10m3-12 1 14m3-14 1 15m3-14 1 15m4-14 1 14m4-13 1 14m39-10-1 10m5-9-1 8m5-7-1 5" stroke="%23b2a181" stroke-width=".7"/>%0A <path d="M55 60c3-10 12-14 23-10l47-44c7-6 15-6 15-2 0 5-9 11-14 14L82 60c-8 4-21 4-27 0Z" fill="%23bc8c48" stroke-width="1.6"/>%0A <path d="M61 59c3-5 9-8 15-5l-4 7m8-8 49-45 6-4M84 52l45-41" stroke="%2376562e" stroke-width="1"/>%0A <path d="M20 53c18 14 69 19 90 2" stroke="%23514431" stroke-width="2"/>%0A <path d="M27 59c22 11 59 14 78 2" stroke="%23fff9e9" stroke-width="2"/>%0A <path d="m48 87 1 1m7 8 1 1m6-12 1 1m6 12 1 1m6-9 1 1m-24 9 1 1m19 4 1-1m10-16 1 1" stroke="%23aa9b7c"/>%0A </g>%0A</svg>%0A)
Red Velvet Cake
A fine, tender red crumb gets its gentle cocoa character from buttermilk, vinegar, and a light hand with the mixer, then meets tangy cream cheese frosting.
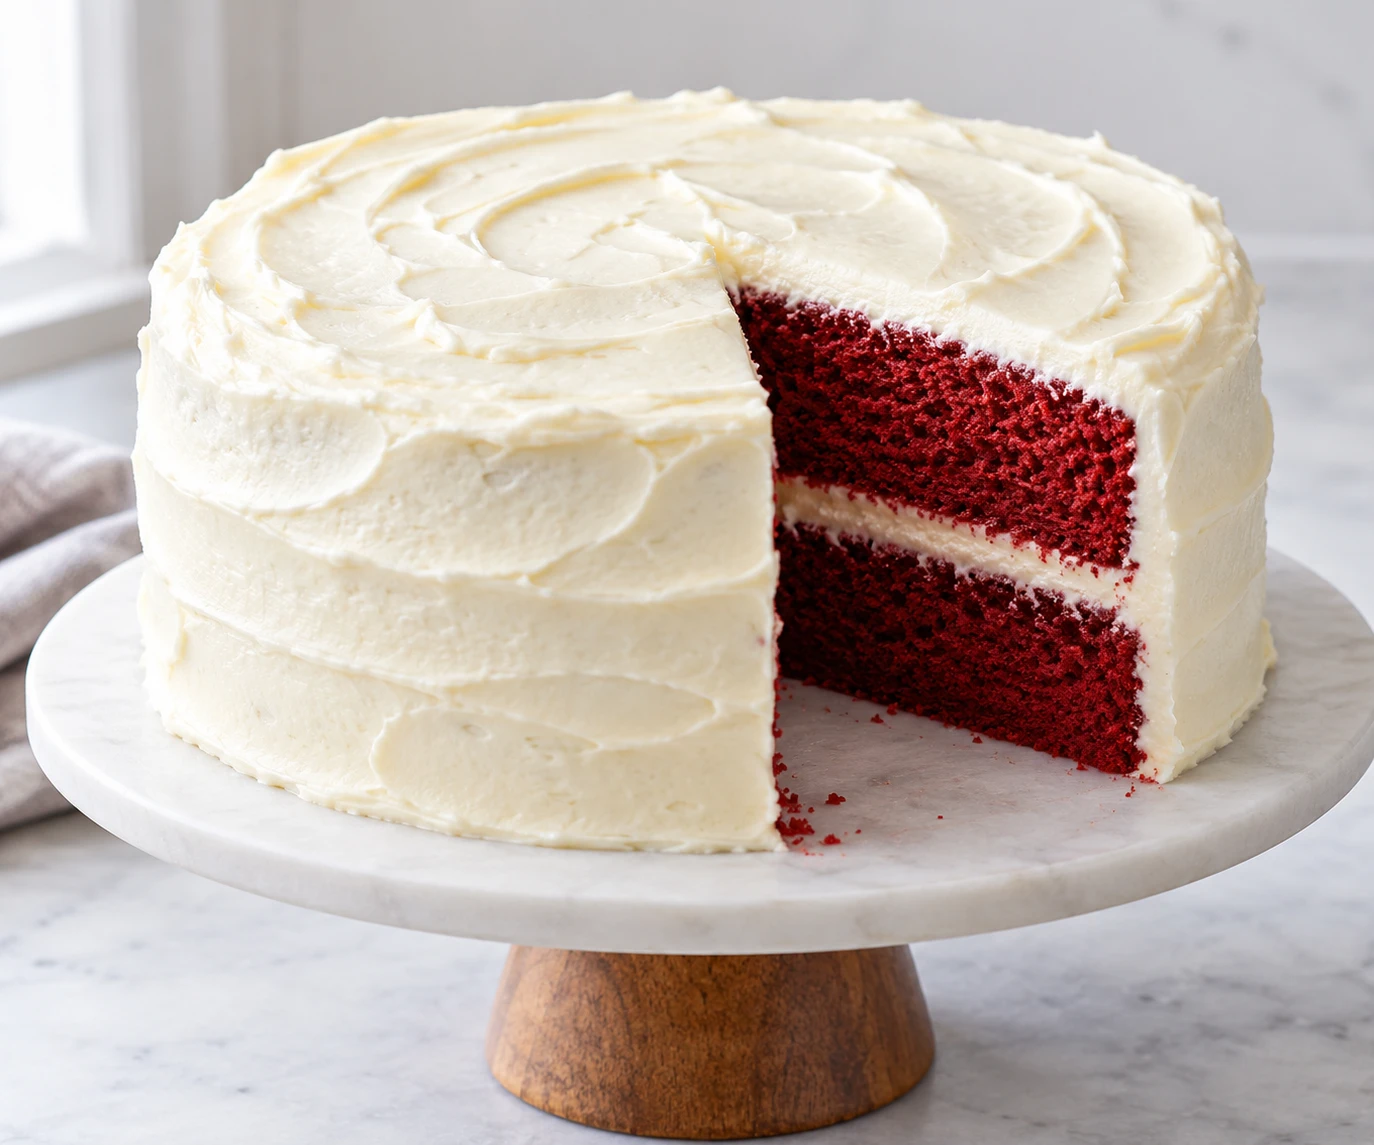
Red velvet sits between vanilla cake and chocolate cake, with cocoa present as a quiet background note. Buttermilk and vinegar give the batter its characteristic tang and help keep the crumb delicate.
The layers are baked until just set, cooled completely, and finished with cream cheese frosting. A thin crumb coat catches loose crumbs before the final smooth finish goes on.
Keep the cocoa subtle
Natural cocoa is used sparingly so the cake keeps its mild chocolate aroma without tasting like a standard chocolate layer cake. Whisking it with the flour distributes the flavor evenly and prevents concentrated dark flecks.
Mix gently after adding flour
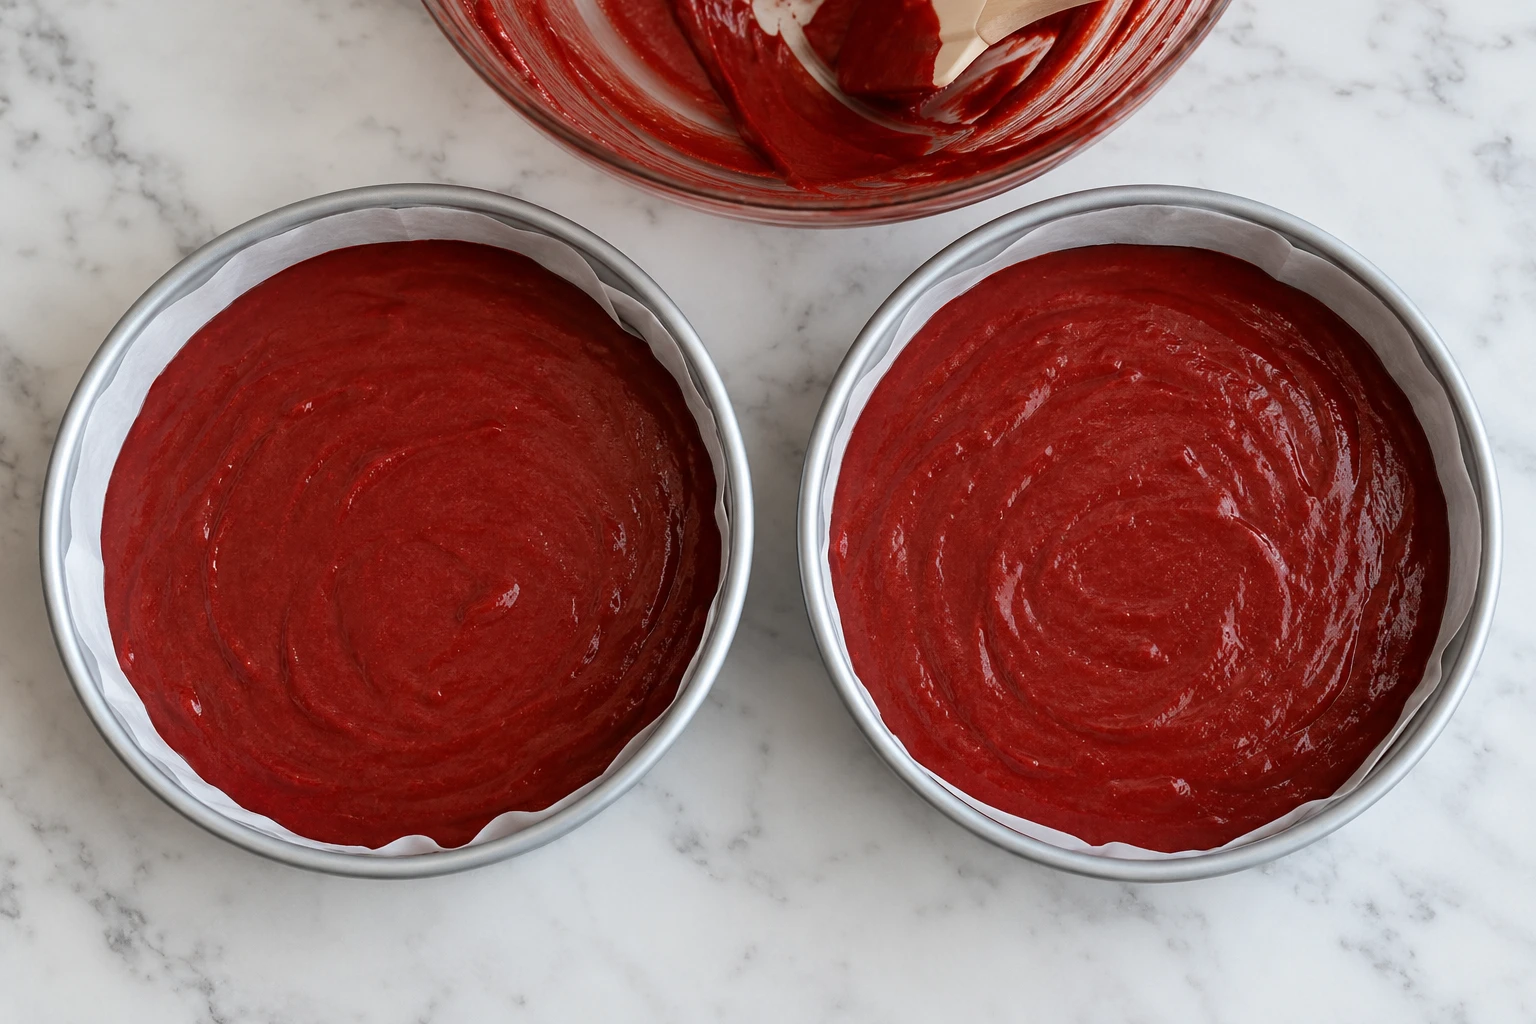
Oil and buttermilk help the layers stay moist, while folding in the dry mixture only until combined protects a fine crumb. The batter should be evenly red and fluid, with no dry flour pockets.
Cool before frosting
The cake layers are fragile while warm, and residual heat can soften cream cheese frosting into a sliding layer. Let them cool all the way through on racks, then level any domes with a serrated knife before stacking.
Build a clean frosting finish
Beat softened cream cheese and butter until smooth before adding the sugar gradually. A thin first coat catches crumbs and gives the final frosting a clean surface to cover.
Serve with the frosting settled
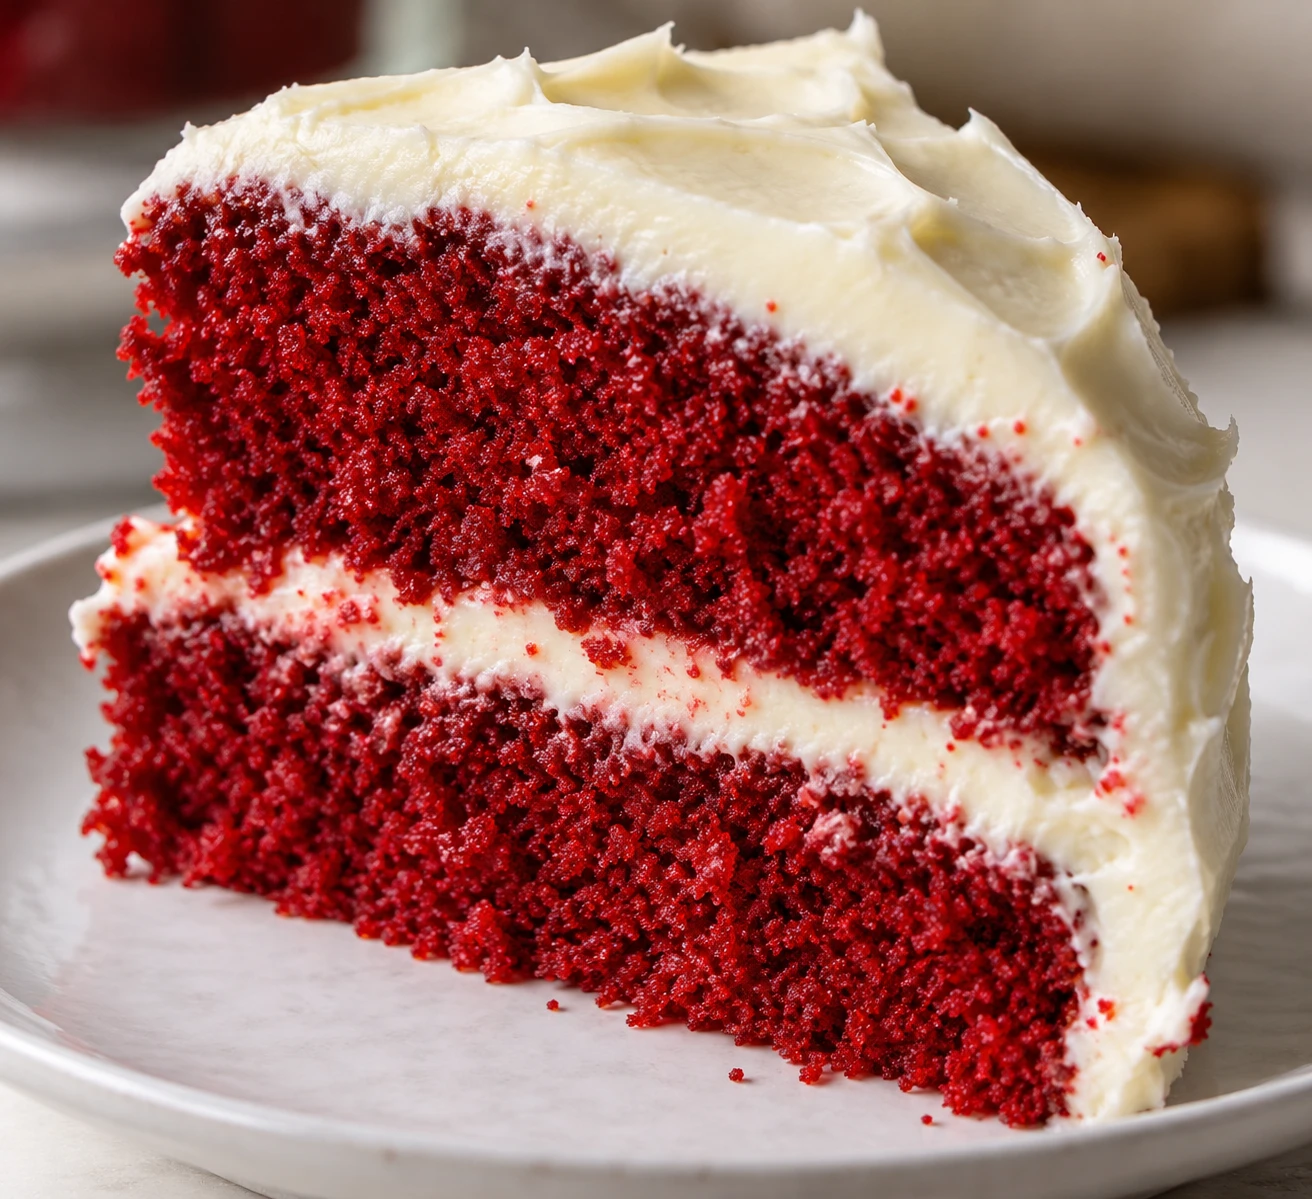
A short chill firms the frosting enough for tidy slices, while a few minutes out of the refrigerator softens the cake and icing. Use a clean knife between cuts to keep the red crumb from streaking across the frosting.
Red Velvet Cake
Ingredients
- • 2 1/2 cups all-purpose flour
- • 1 1/2 cups granulated sugar
- • 2 tbsp unsweetened natural cocoa powder
- • 1 tsp baking soda
- • 1 tsp fine salt
- • 2 large eggs, room temperature
- • 1 cup neutral oil
- • 1 cup buttermilk, room temperature
- • 2 tsp vanilla extract, divided
- • 1 tbsp white vinegar
- • 1 tbsp red gel food coloring
- • 16 oz cream cheese, softened
- • 1/2 cup unsalted butter, softened
- • 4 cups confectioners' sugar, sifted
- • 1/4 tsp fine salt for frosting
Method
Prepare the pans
Heat the oven to 350 F with a rack in the center. Grease two 8-inch round cake pans, line their bases with parchment, and lightly grease the parchment.
Look for: The oven is fully heated and parchment lies flat against both pan bases.
Whisk the dry ingredients
In a medium bowl, whisk the flour, cocoa powder, baking soda, and fine salt until the cocoa is evenly dispersed and no small lumps remain.
Look for: The dry mixture is an even pale cocoa color with no visible cocoa clumps.
Mix the red velvet base
In a large bowl, whisk the sugar and neutral oil until glossy. Beat in the eggs one at a time, then whisk in the buttermilk, 1 tsp vanilla, white vinegar, and red gel coloring.
Look for: The liquid mixture is smooth, evenly red, and free of streaks of egg or coloring.
Finish the batter
Add the dry mixture to the red velvet base in two additions, folding just until no flour streaks remain. Divide the thin batter evenly between the prepared pans.
Look for: The batter is uniformly red with no dry pockets, and both pans hold similar amounts.
Bake the cake layers
Bake at 350 F for 30 to 32 minutes, rotating the pans once near the end, until the centers spring back lightly and a tester comes out with a few moist crumbs but no wet batter.
Look for: The centers spring back when touched and a tester shows moist crumbs rather than streaks of batter.
Cool the layers completely
Cool the cakes in their pans for 10 minutes, then loosen the edges and turn them onto wire racks. Peel away the parchment and let the layers cool completely before frosting.
Look for: The layers feel cool at the center and no longer release steam before frosting.
Make the cream cheese frosting
Beat the cream cheese and softened butter until smooth. Gradually beat in the sifted confectioners' sugar, then add the remaining 1 tsp vanilla and frosting salt; beat until creamy and spreadable.
Look for: The frosting is smooth, holds soft peaks, and has no visible lumps of cream cheese.
Level and stack the layers
If either cake has a domed top, trim it level with a serrated knife. Set one layer on a serving plate, spread frosting over it, and place the second layer on top with its flat side facing upward.
Look for: The layers sit evenly, with a visible and level band of frosting between them.
Apply a crumb coat
Spread a thin layer of frosting over the top and sides to trap loose crumbs, then chill the cake until that coat feels set before applying the final finish.
Look for: The crumb coat looks thin and slightly translucent, with loose crumbs held in place.
Finish and serve
Cover the cake with the remaining frosting, smoothing the sides with an offset spatula and leaving soft swirls on top. Chill briefly for neat slices, then let the cake lose its refrigerator chill before serving.
Look for: The sides are evenly covered, the top has a tidy finish, and a clean knife cuts through the chilled frosting.